Getting Started
From signup to your first transactions
Getting Started
Reading time: 6 minutes
Go from sign-up to your first transactions in Atlas. This checklist walks you through the essential setup steps to get your accounting running.
Step 1: Sign Up and Verify
- Visit the Atlas signup page
- Enter your name, email, and password
- Check your inbox for the verification email
- Click the verification link to activate your account
Step 2: Create Your Organization
After verifying your email:
- Enter your organization name (your business or group name)
- This is the top-level container for all your companies and users
- You are automatically assigned the Owner role
Step 3: Create Your First Company
- Enter the company name
- Set the base currency (cannot be changed later)
- Choose your industry — Atlas generates a default Chart of Accounts based on this
- Set your fiscal year start month (defaults to January)
- Click Create
You are now inside your company dashboard.
Step 4: Configure Company Settings
Go to Settings > Companies, then click Edit company to review and complete the core company details:
| Setting | Why It Matters |
|---|---|
| Country | Drives the available tax forms and jurisdiction features |
| Base Currency | The reporting currency — cannot be changed once transactions exist |
| Fiscal Year Start | Sets your reporting periods and year-end |
| Accounting Method | Accrual or Cash — the default basis for your reports |
| Timezone | Used for transaction dates and audit timestamps |
| Tax Identifiers | Tax registration numbers shown on official documents |
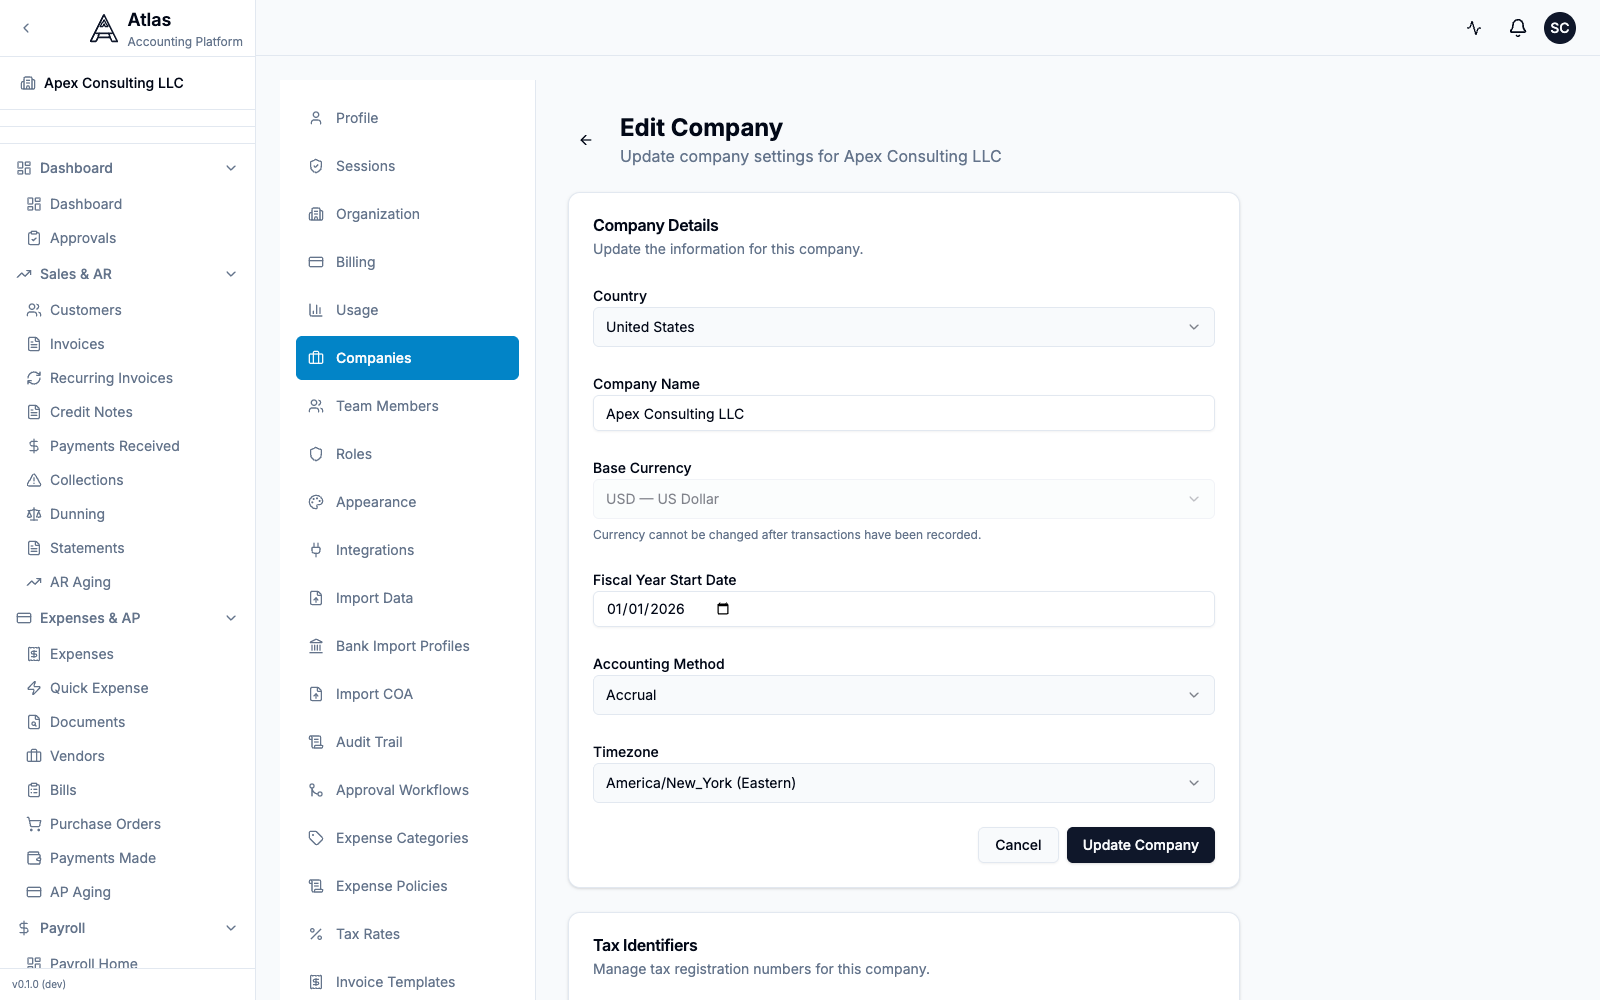 The Edit Company screen under Settings > Companies, showing Country, Company Name, Base Currency, Fiscal Year Start Date, Accounting Method, and Timezone.
Invoice appearance (layout, fields, and columns on invoice PDFs) is customized separately under Settings > Invoice Templates, and tax rates live under Settings > Tax Rates.
Step 5: Set Up Your Chart of Accounts
Atlas created a default COA based on your industry. Review and customize:
- Open Chart of Accounts from the sidebar (under Accounting)
- Click Add Account for accounts you need (e.g., specific bank accounts, revenue streams)
- Remove accounts you will not use
- To bring in an existing chart, use Settings > Import COA (CSV or XLSX) — the parent/child hierarchy is set via the Parent Account Number column
See the Chart of Accounts guide for details.
Step 6: Add Your Bank Accounts
- Open Banking from the sidebar
- Click Add Account for each account
- Enter the bank name, last 4 digits, account type, and opening balance
- Open the account and use Import Statement (CSV or Excel) to start reconciling
See the Banking guide for import details.
Step 7: Invite Your Team
- Go to Settings > Team Members (Admin or Owner role required)
- Click Invite and enter each team member's email
- Assign roles based on their responsibilities:
- Admin — full access
- Accountant — accounting and period close
- Bookkeeper — daily transaction entry
- Viewer — reports only
See the RBAC guide for role details.
Step 8: Import Your Data
If migrating from another system:
- Chart of Accounts — Import via CSV or XLSX at Settings > Import COA
- Customers, Vendors, Invoices, Bills — Import via CSV (or IIF) at Settings > Import Data, which provides downloadable templates for each
- Opening Balances — Create a journal entry with your starting balances as of your go-live date
- From QuickBooks Online — connect the native integration at Settings > Integrations (Admin/Owner)
See the Quick Start Guides for platform-specific migration paths.
Step 9: Your First Transactions
You are now ready to start transacting:
| Action | Where |
|---|---|
| Create an invoice | Invoices > New Invoice |
| Enter a bill | Bills > New Bill |
| Record a journal entry | Journal Entries > New Entry |
| Import a bank statement | Banking > [account] > Import Statement |
| Log an expense | Expenses > New Report (or Quick Expense) |
Step 10: Run Your First Reports
- Navigate to Reports
- Start with:
- Trial Balance — verify your opening balances are correct
- Profit & Loss — see income and expenses
- Balance Sheet — see your financial position
Setup Checklist
Use this checklist to track your progress:
- Account created and email verified
- Organization created
- First company created with correct base currency
- Company settings configured (country, fiscal year, accounting method, timezone)
- Chart of Accounts reviewed and customized
- Bank accounts added
- Team members invited with appropriate roles
- Data imported (if migrating)
- First transaction created
- First report run and reviewed
Related Guides
- Chart of Accounts — account structure
- RBAC & Permissions — team roles
- Your First Invoice — create an invoice
- Bank Reconciliation — reconcile your accounts
- FAQ — common questions answered